Upgrading Nexus Dashboard
About This Document
Section titled “About This Document”This document serves as a Method of Procedure (MoP) for performing a software / version upgrade for Nexus Dashboard.
This guide targets the upgrade path of 3.2(1i) to 3.2(2m).
| Starting Version | Ending Version |
|---|---|
| Nexus Dashboard 3.2(1i) nd-dk9-3.2.1i.ova | Nexus Dashboard 3.2(2m) nd-k9.3.2.2m.ova |
Warning: If you are upgrading from <= 3.1(x), you will not be able to add or remove services after upgrading to this release without redeploying the cluster. If you were planning to add or remove services in your cluster, it is recommended to do so before upgrading to release 3.2(x).
Warning: For this target version, you must be running Nexus Dashboard release 3.0(1) or later to upgrade directly to release 3.2(x). If you are running an earlier version of Nexus Dashboard, it is reccomended to first upgrade to release 3.0(1) as described in the respective deployment guide.
Downloading the ND Image
Section titled “Downloading the ND Image”Browse to the Cisco Software Download page, and navigate to “Nexus Dashboard” images.
From there, download the “nd-dk9.3.2.2m.iso” image to your local computer.
The syntax of Nexus Dashboard images is:
nd-ndk9.<version>.iso
Note: Since this is not a greenfield deployment, the ISO image is needed, rather than an OVA.
Prepare for Upgrading
Section titled “Prepare for Upgrading”Browse to the Nexus Dashboard GUI via https://<node-mgmt-ip>.
Sign in with an Administartor role account.
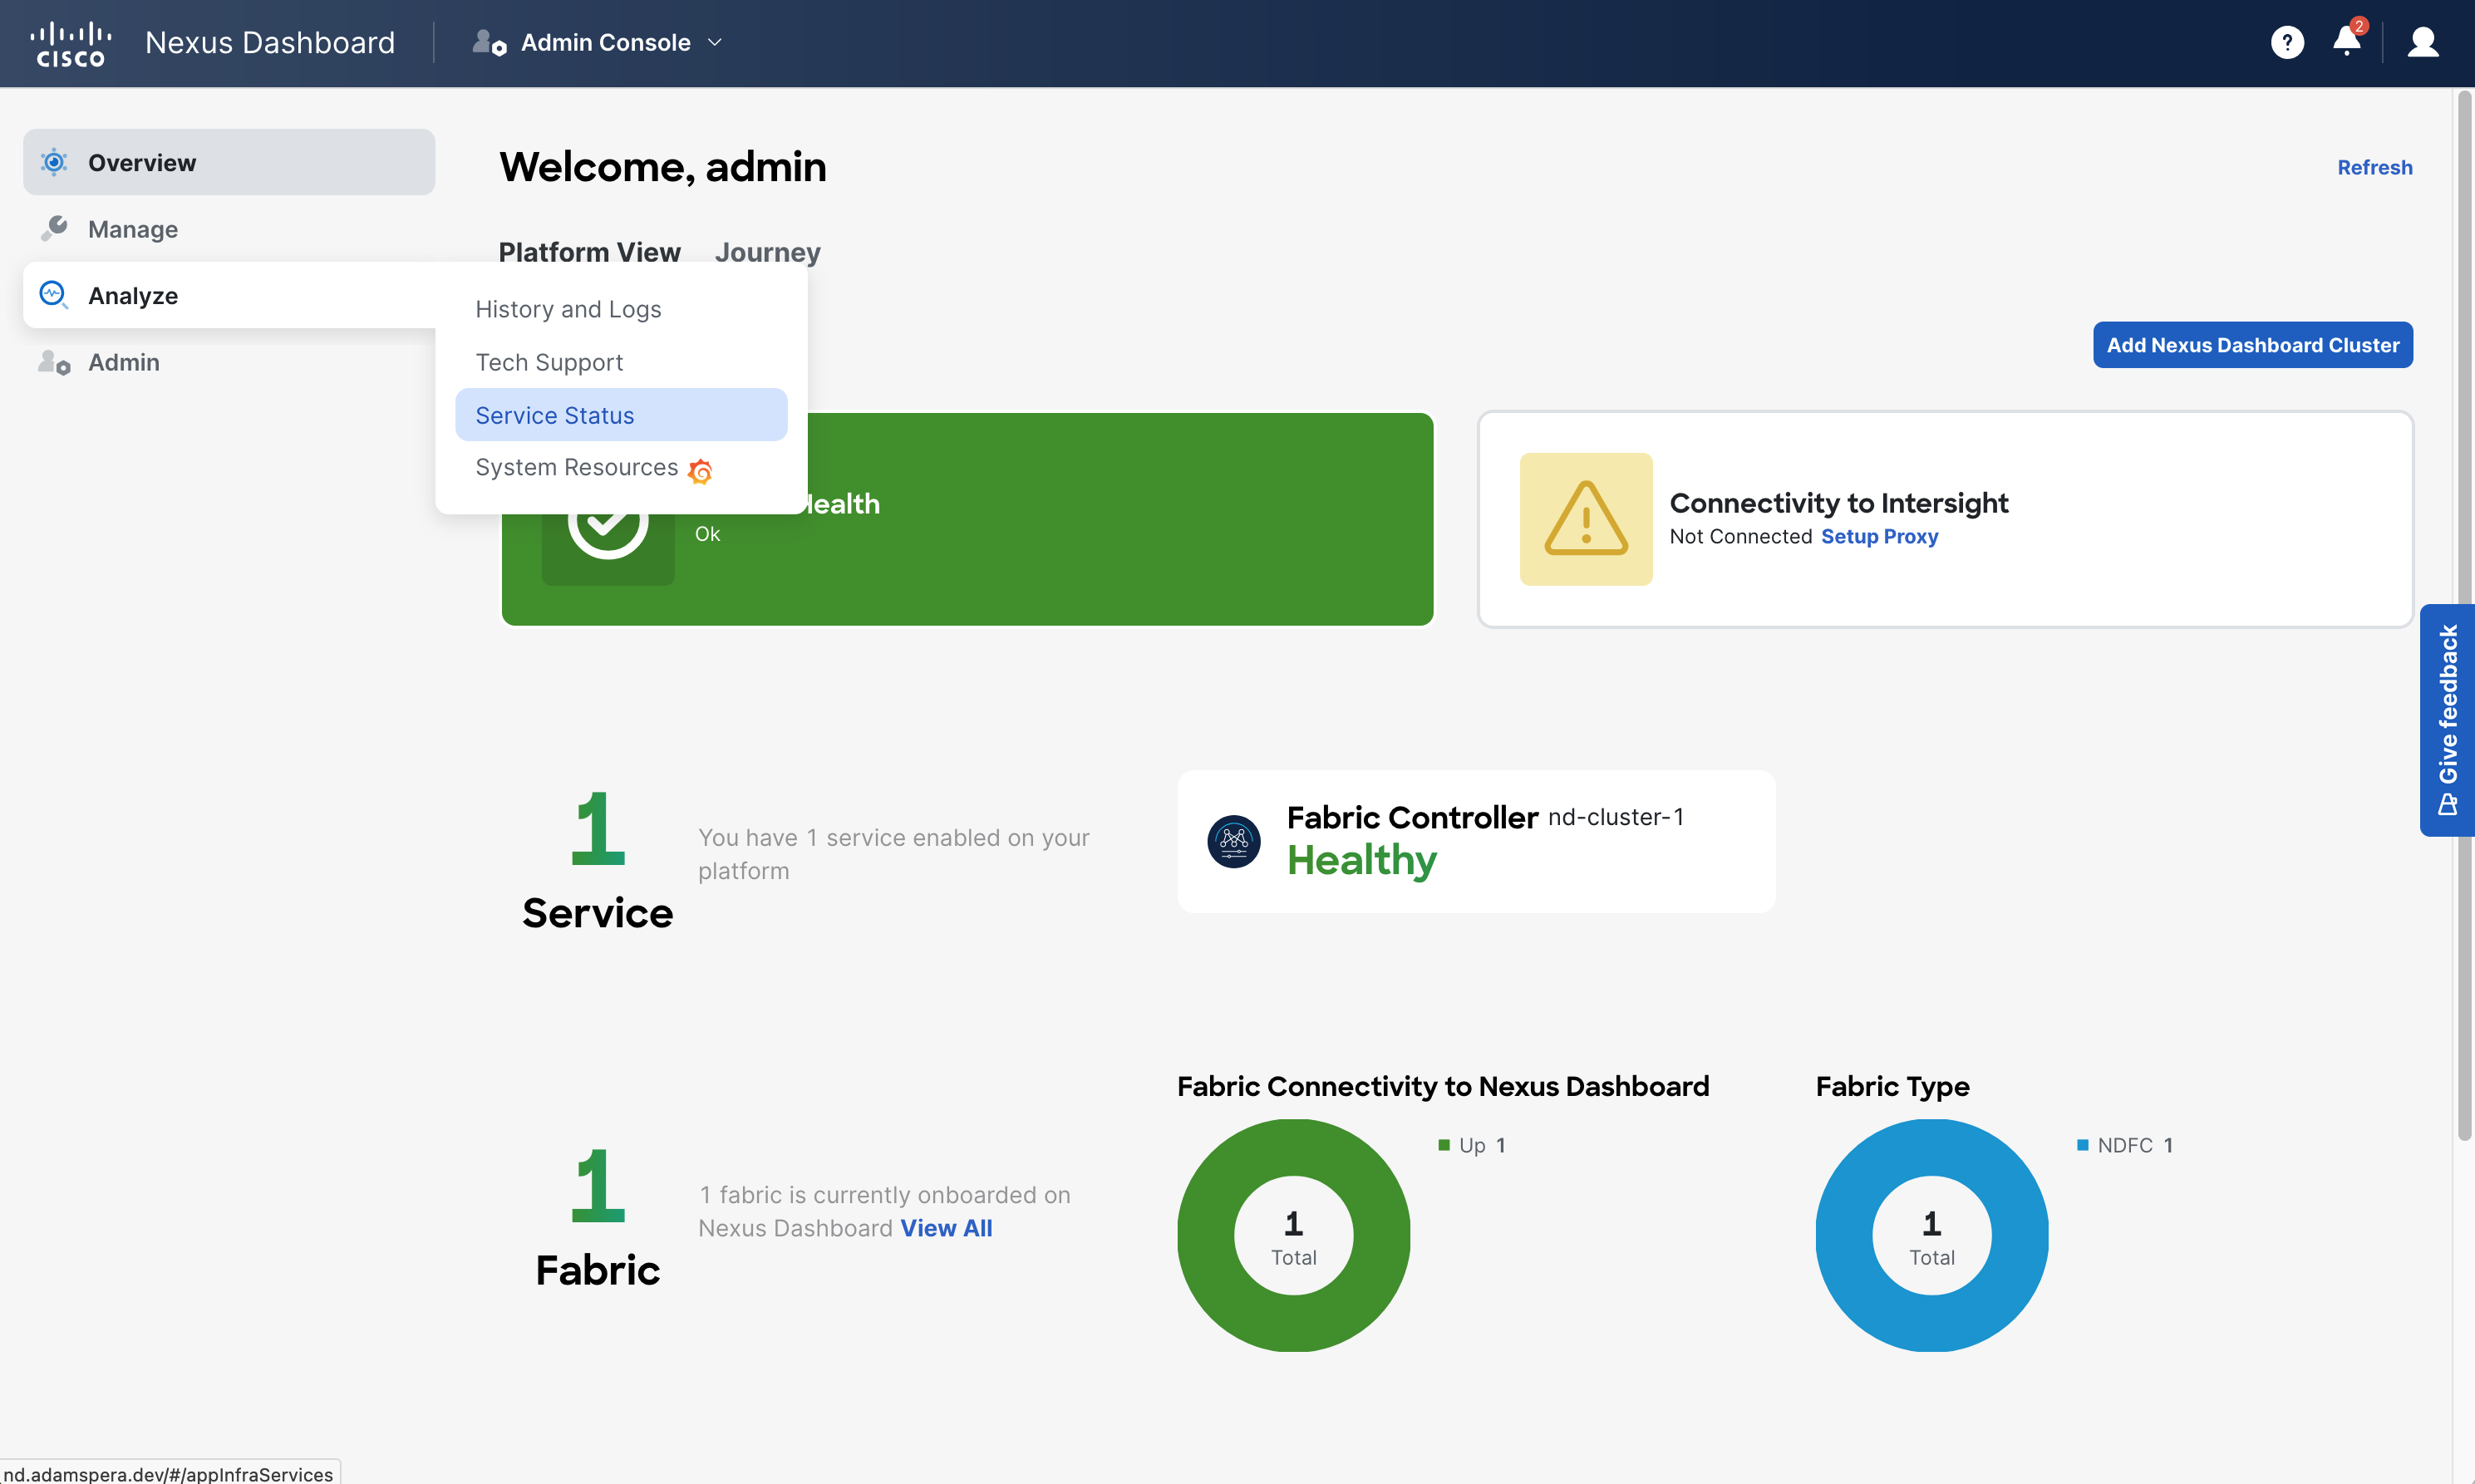
Ensure that you are viewing the Nexus Dashboard view. This is called “Admin Console” from the top service selector drop-down.
From this main ND navigation menu, Operate > Services.
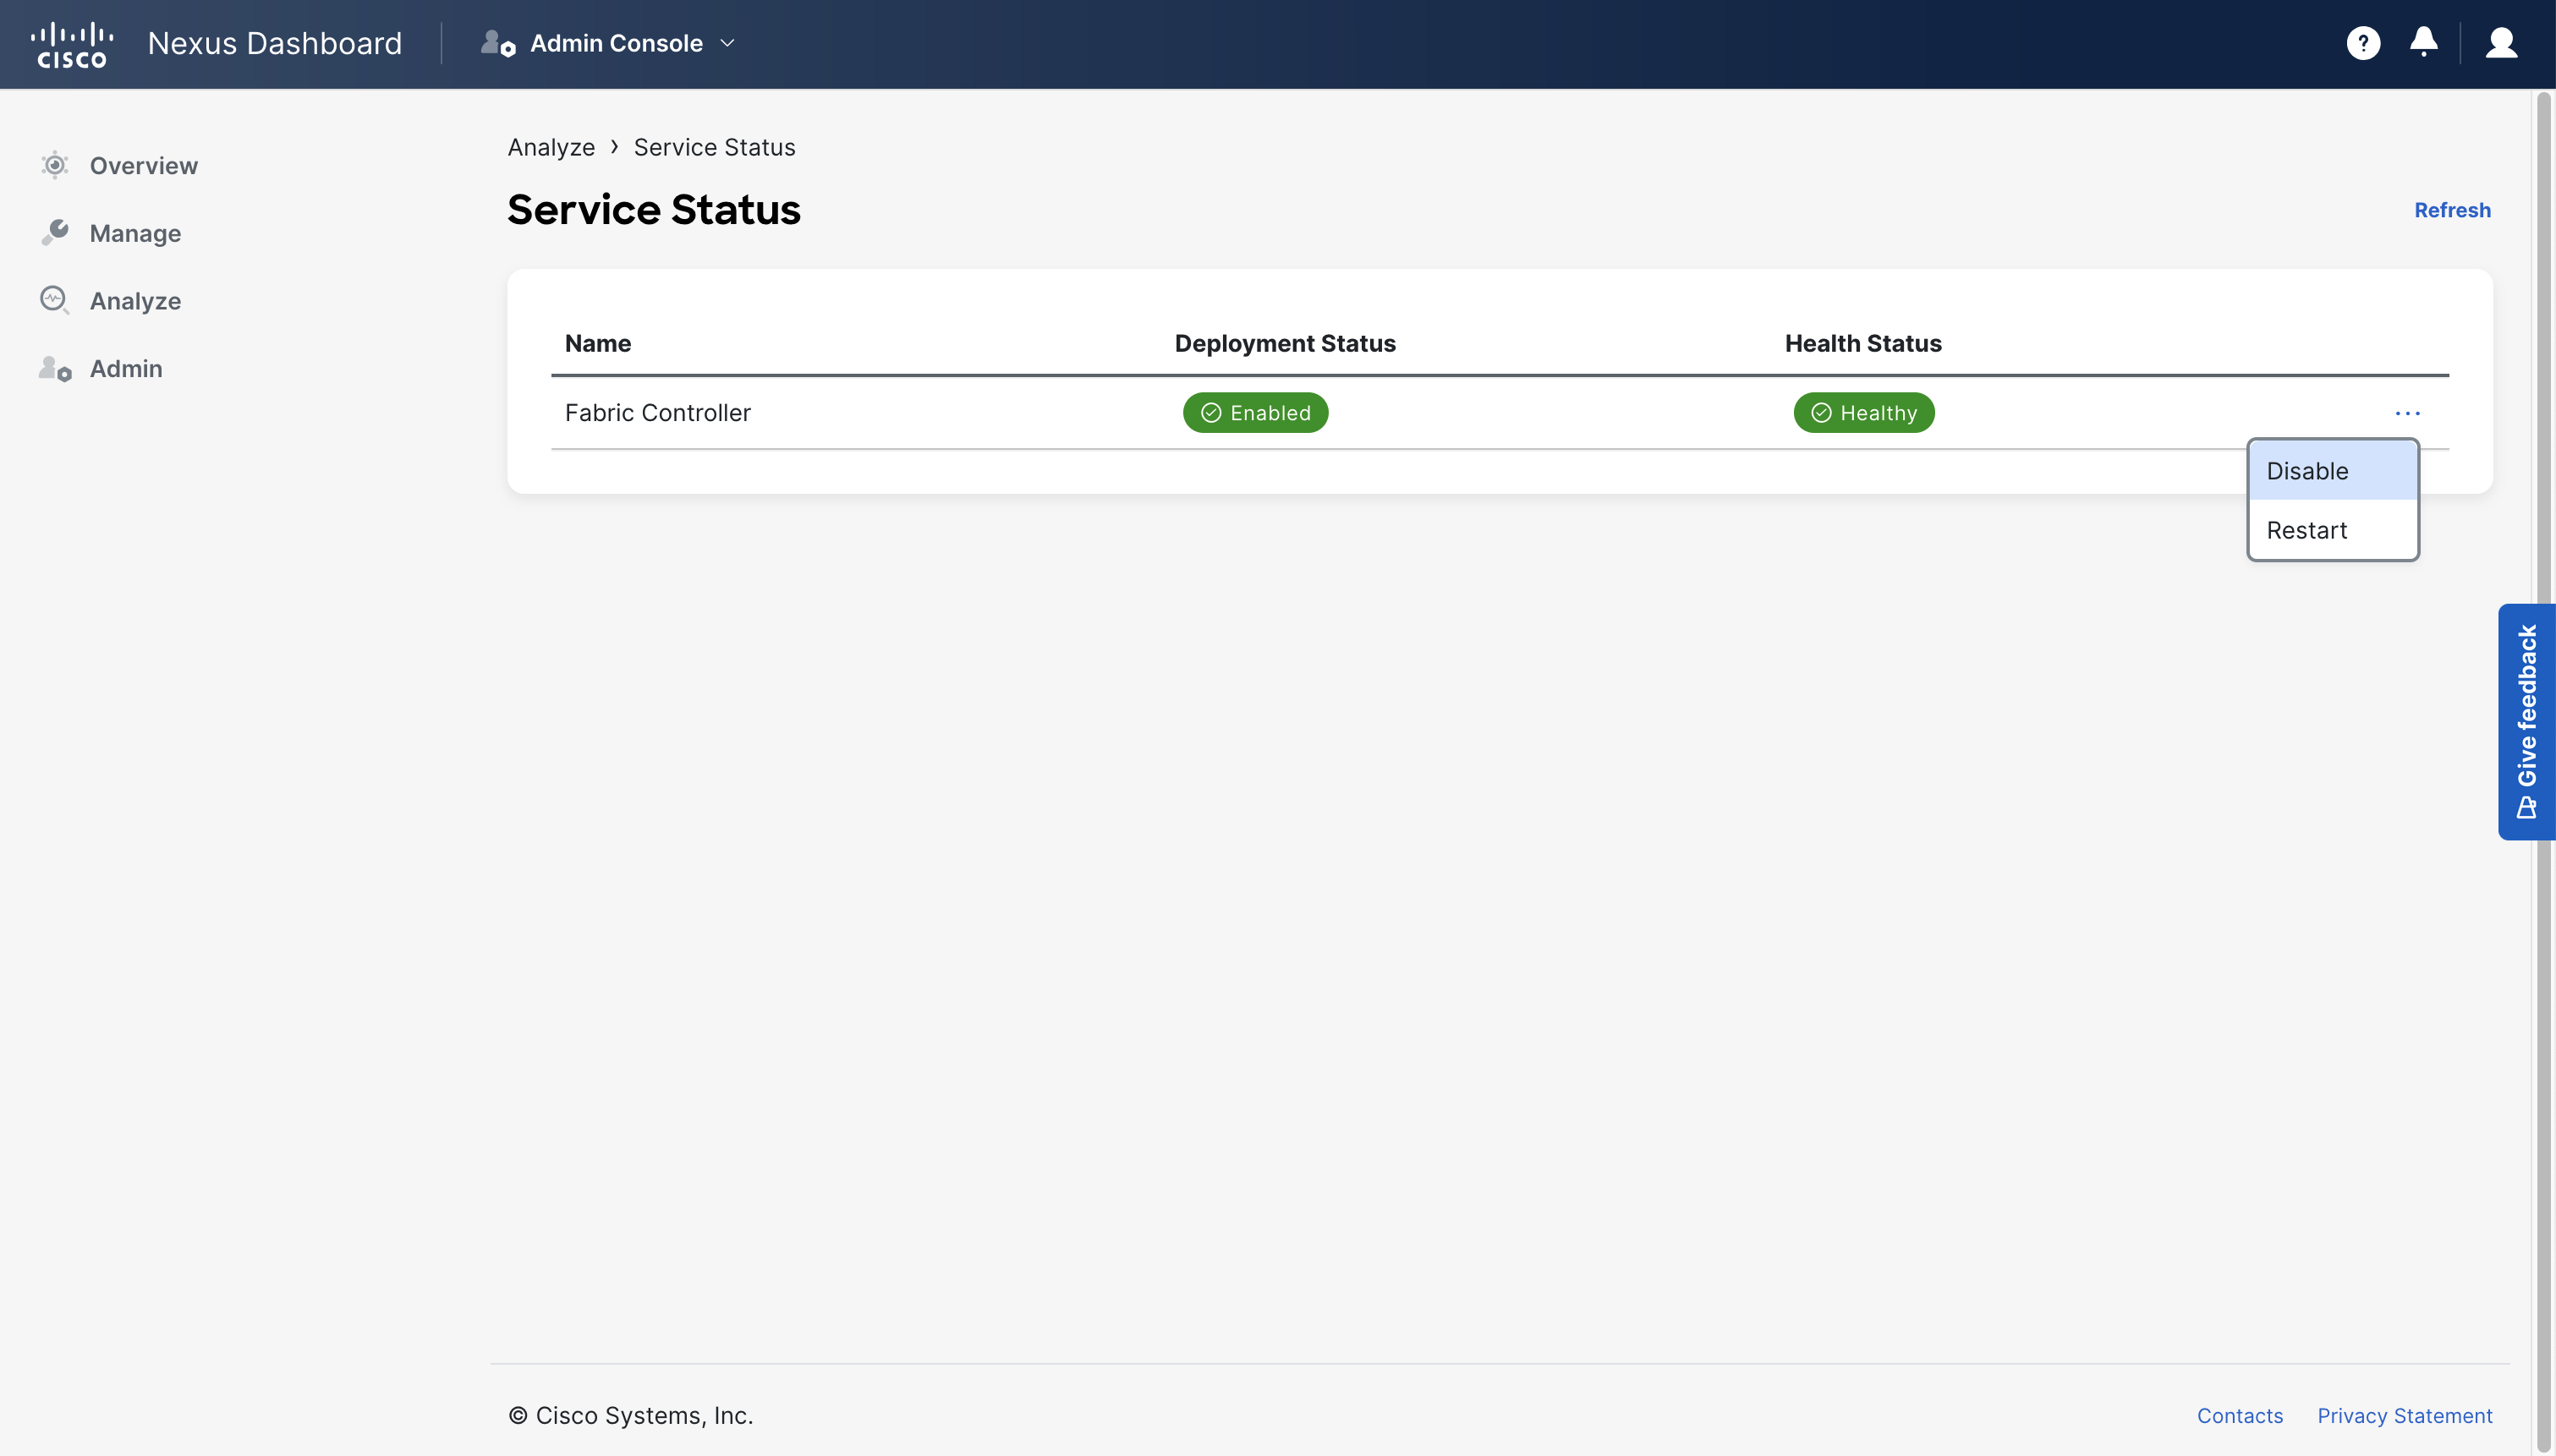
Select each of the select services by clicking the three dots to right the of the service.
Then select “Disable” and select “Confirm” in the popup.
Ensure that before upgrading, all services are disabled. If the services say “Pending Disable” then wait before proceeding, until it displays “Disabled”.
Uploading Images
Section titled “Uploading Images”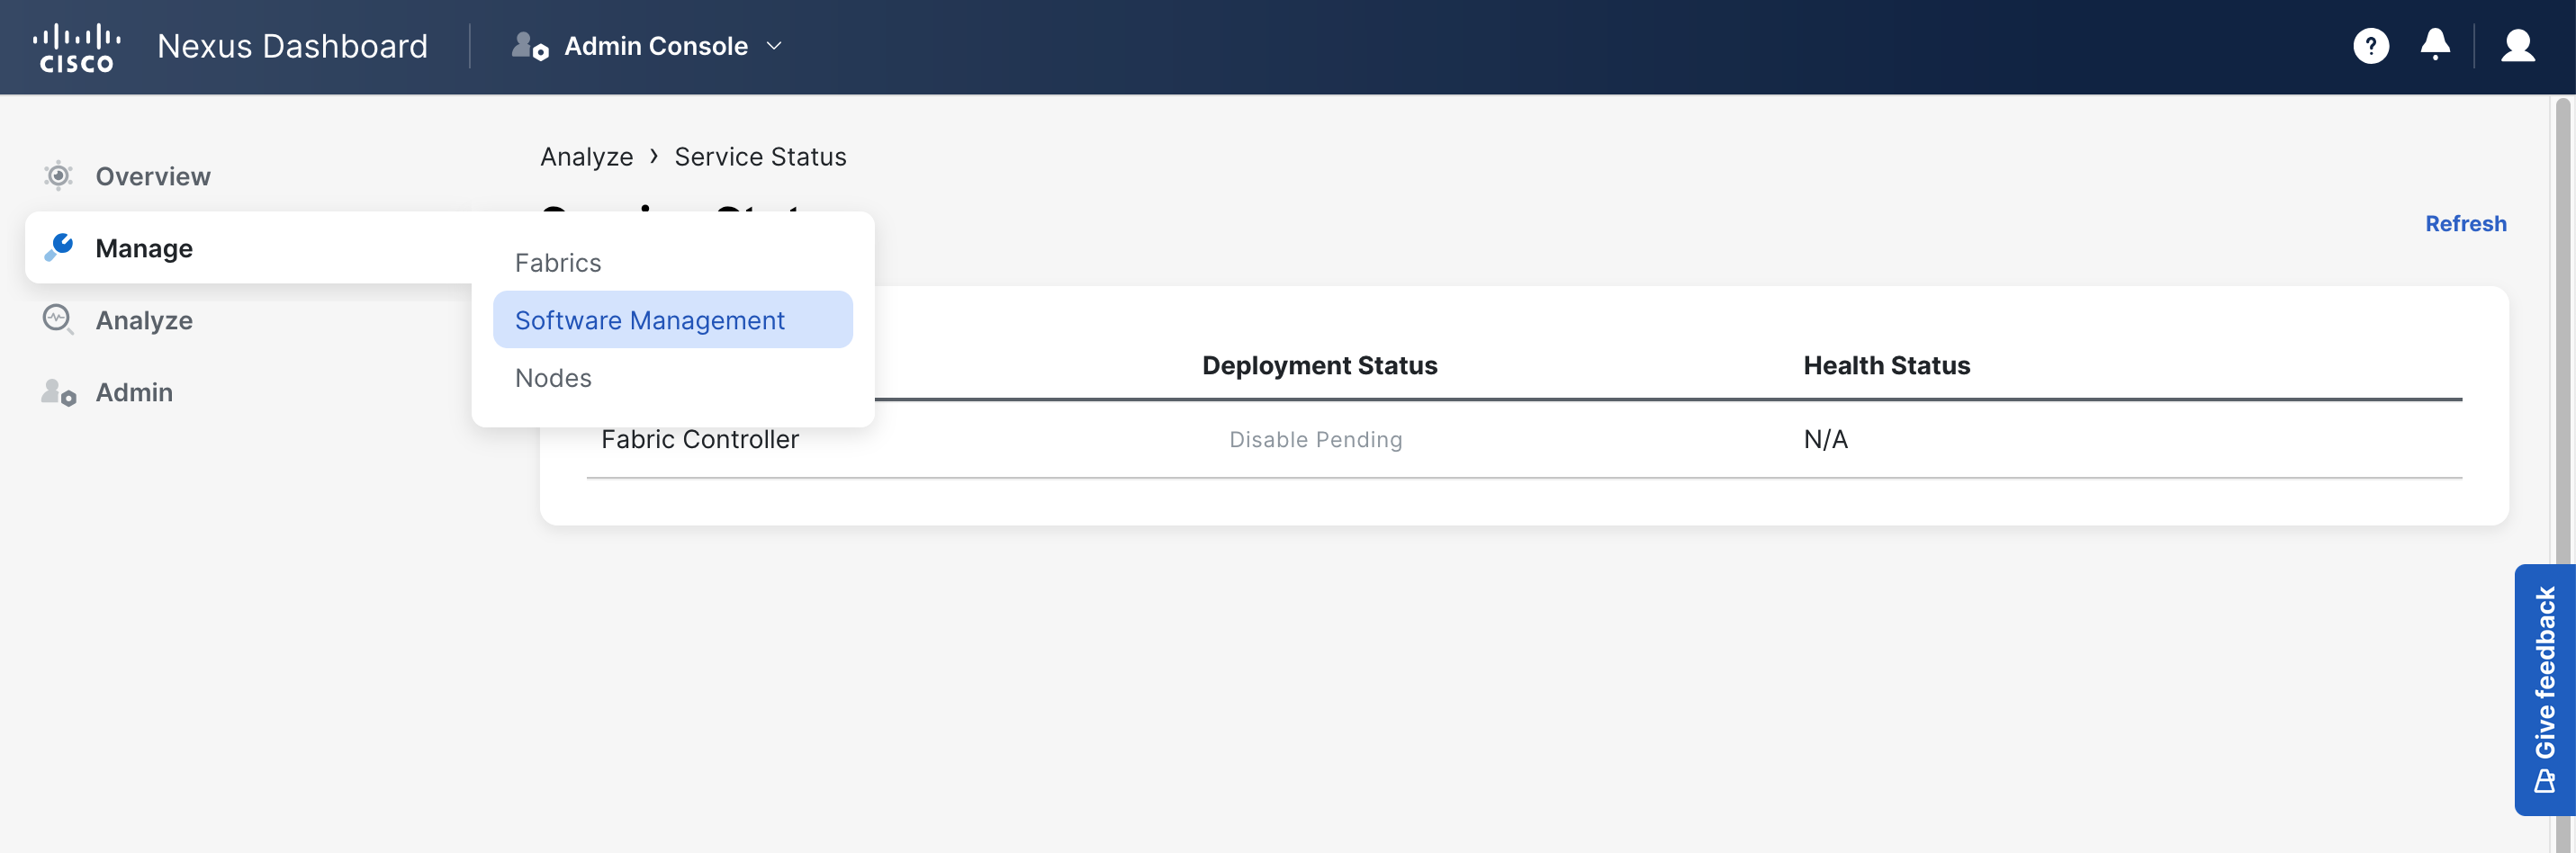
From this main ND navigation menu, Manage > Software Management.
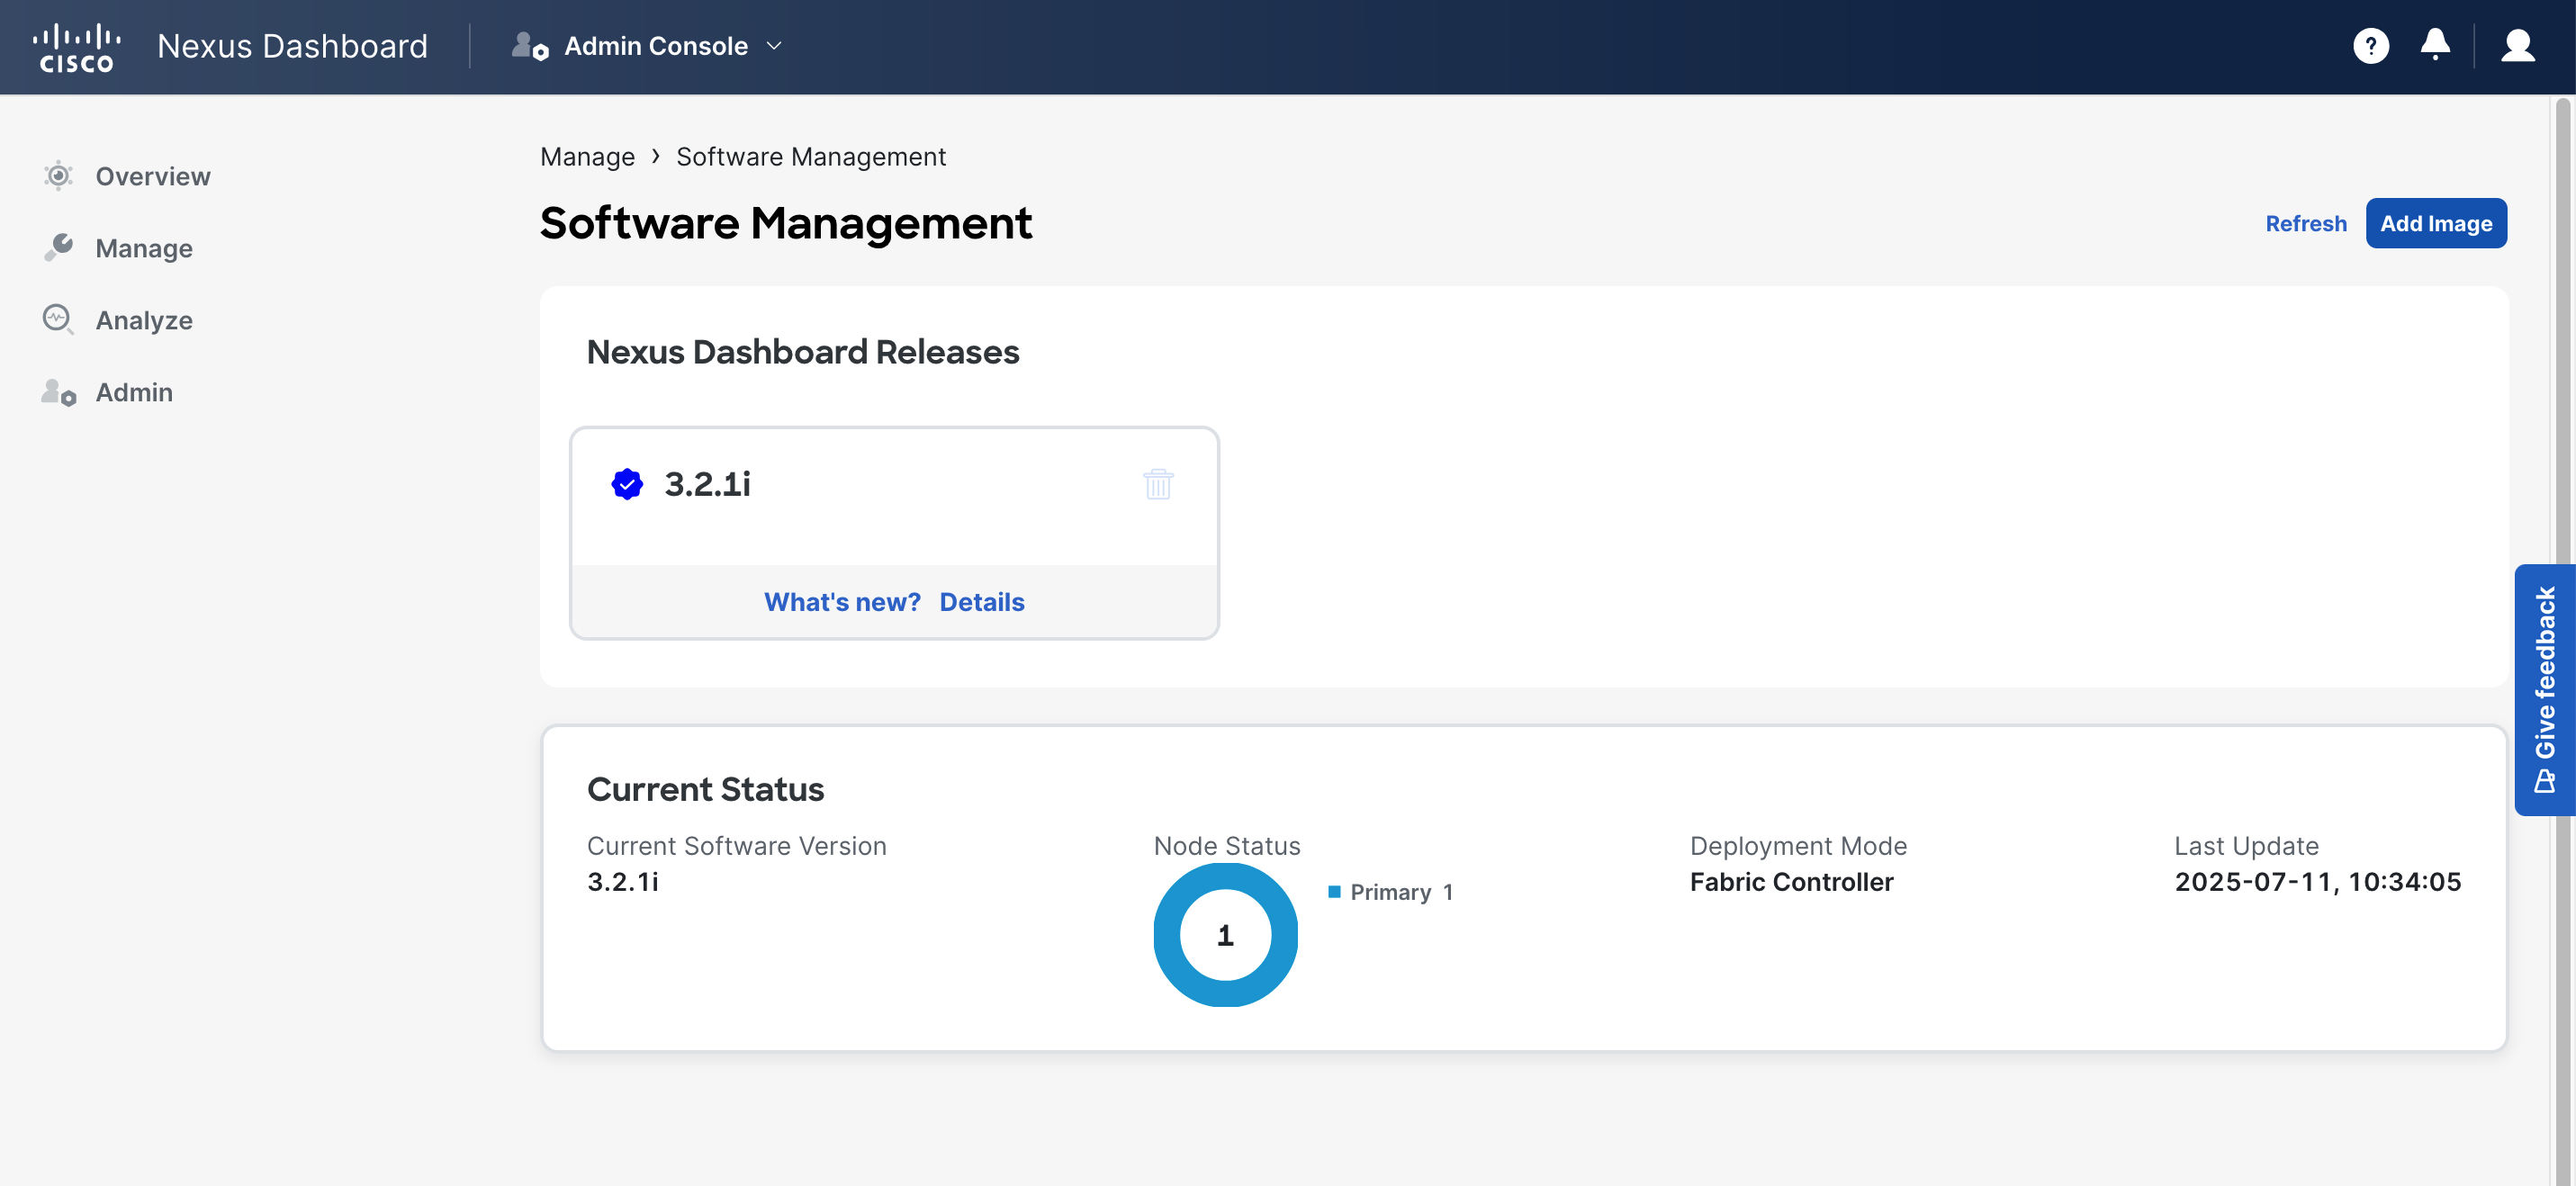
From the Software Management screen, click the “Add Image” button at the top right.
It is recommended to delete any old images before upgrading.
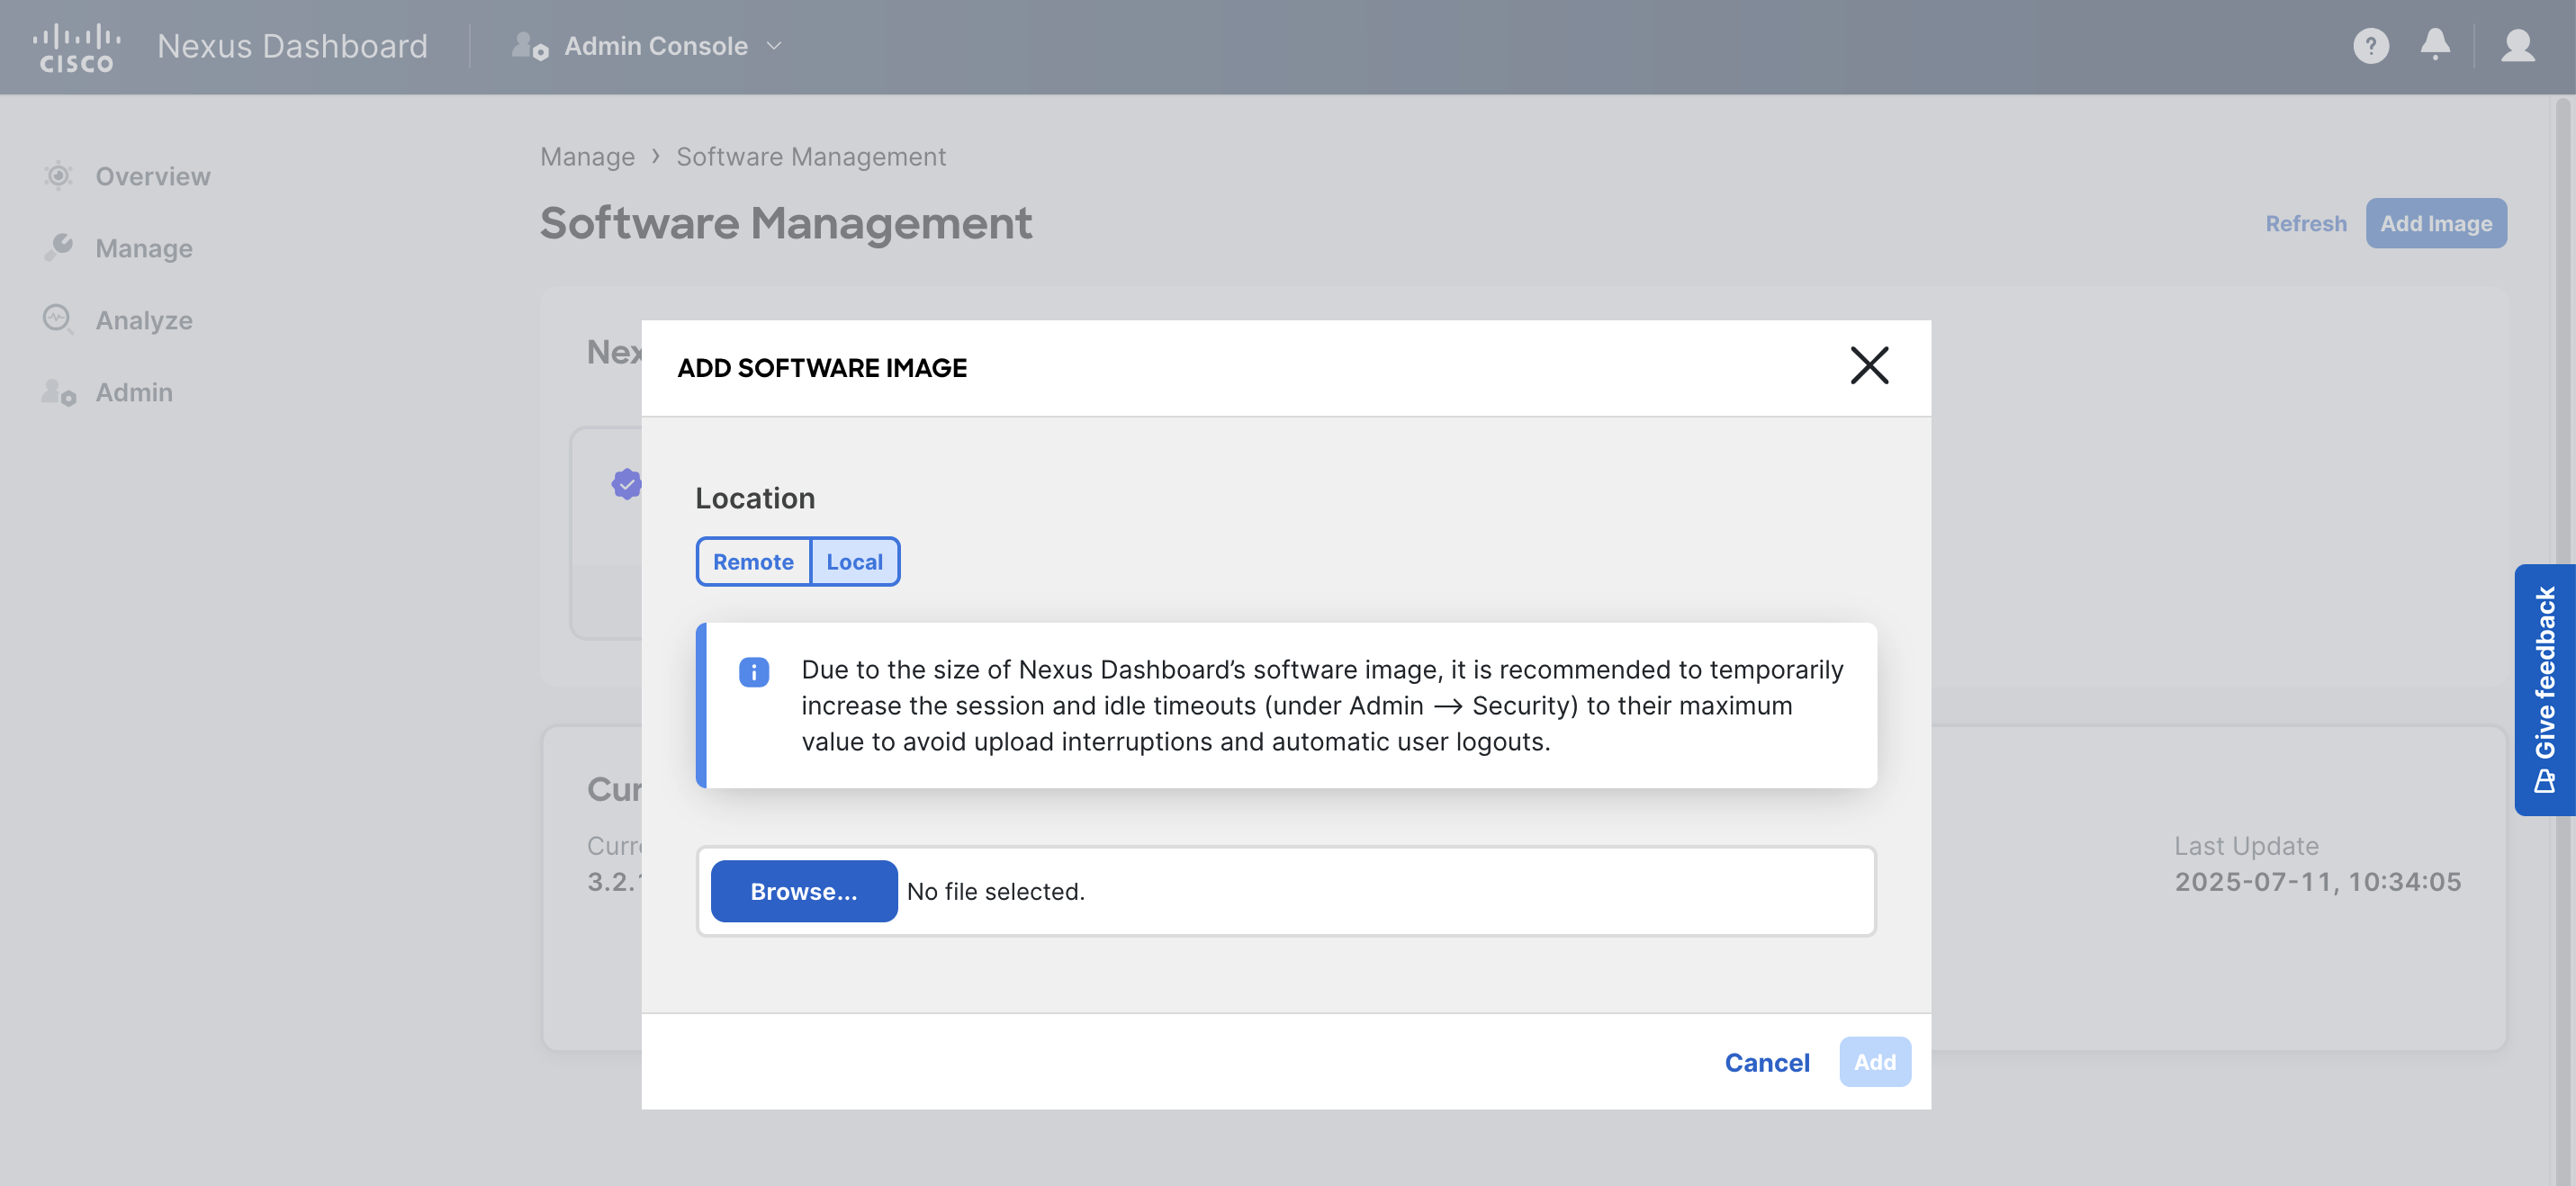
For this MOP, the files will be uploaded locally. To assist in this process, per the recommendation popup, the session timeout will be set to 3600 seconds, just incase.
Click the “Browse” button to select a the ISO file from your local device.
Then select “Add” at the bottom right to begin the upload.
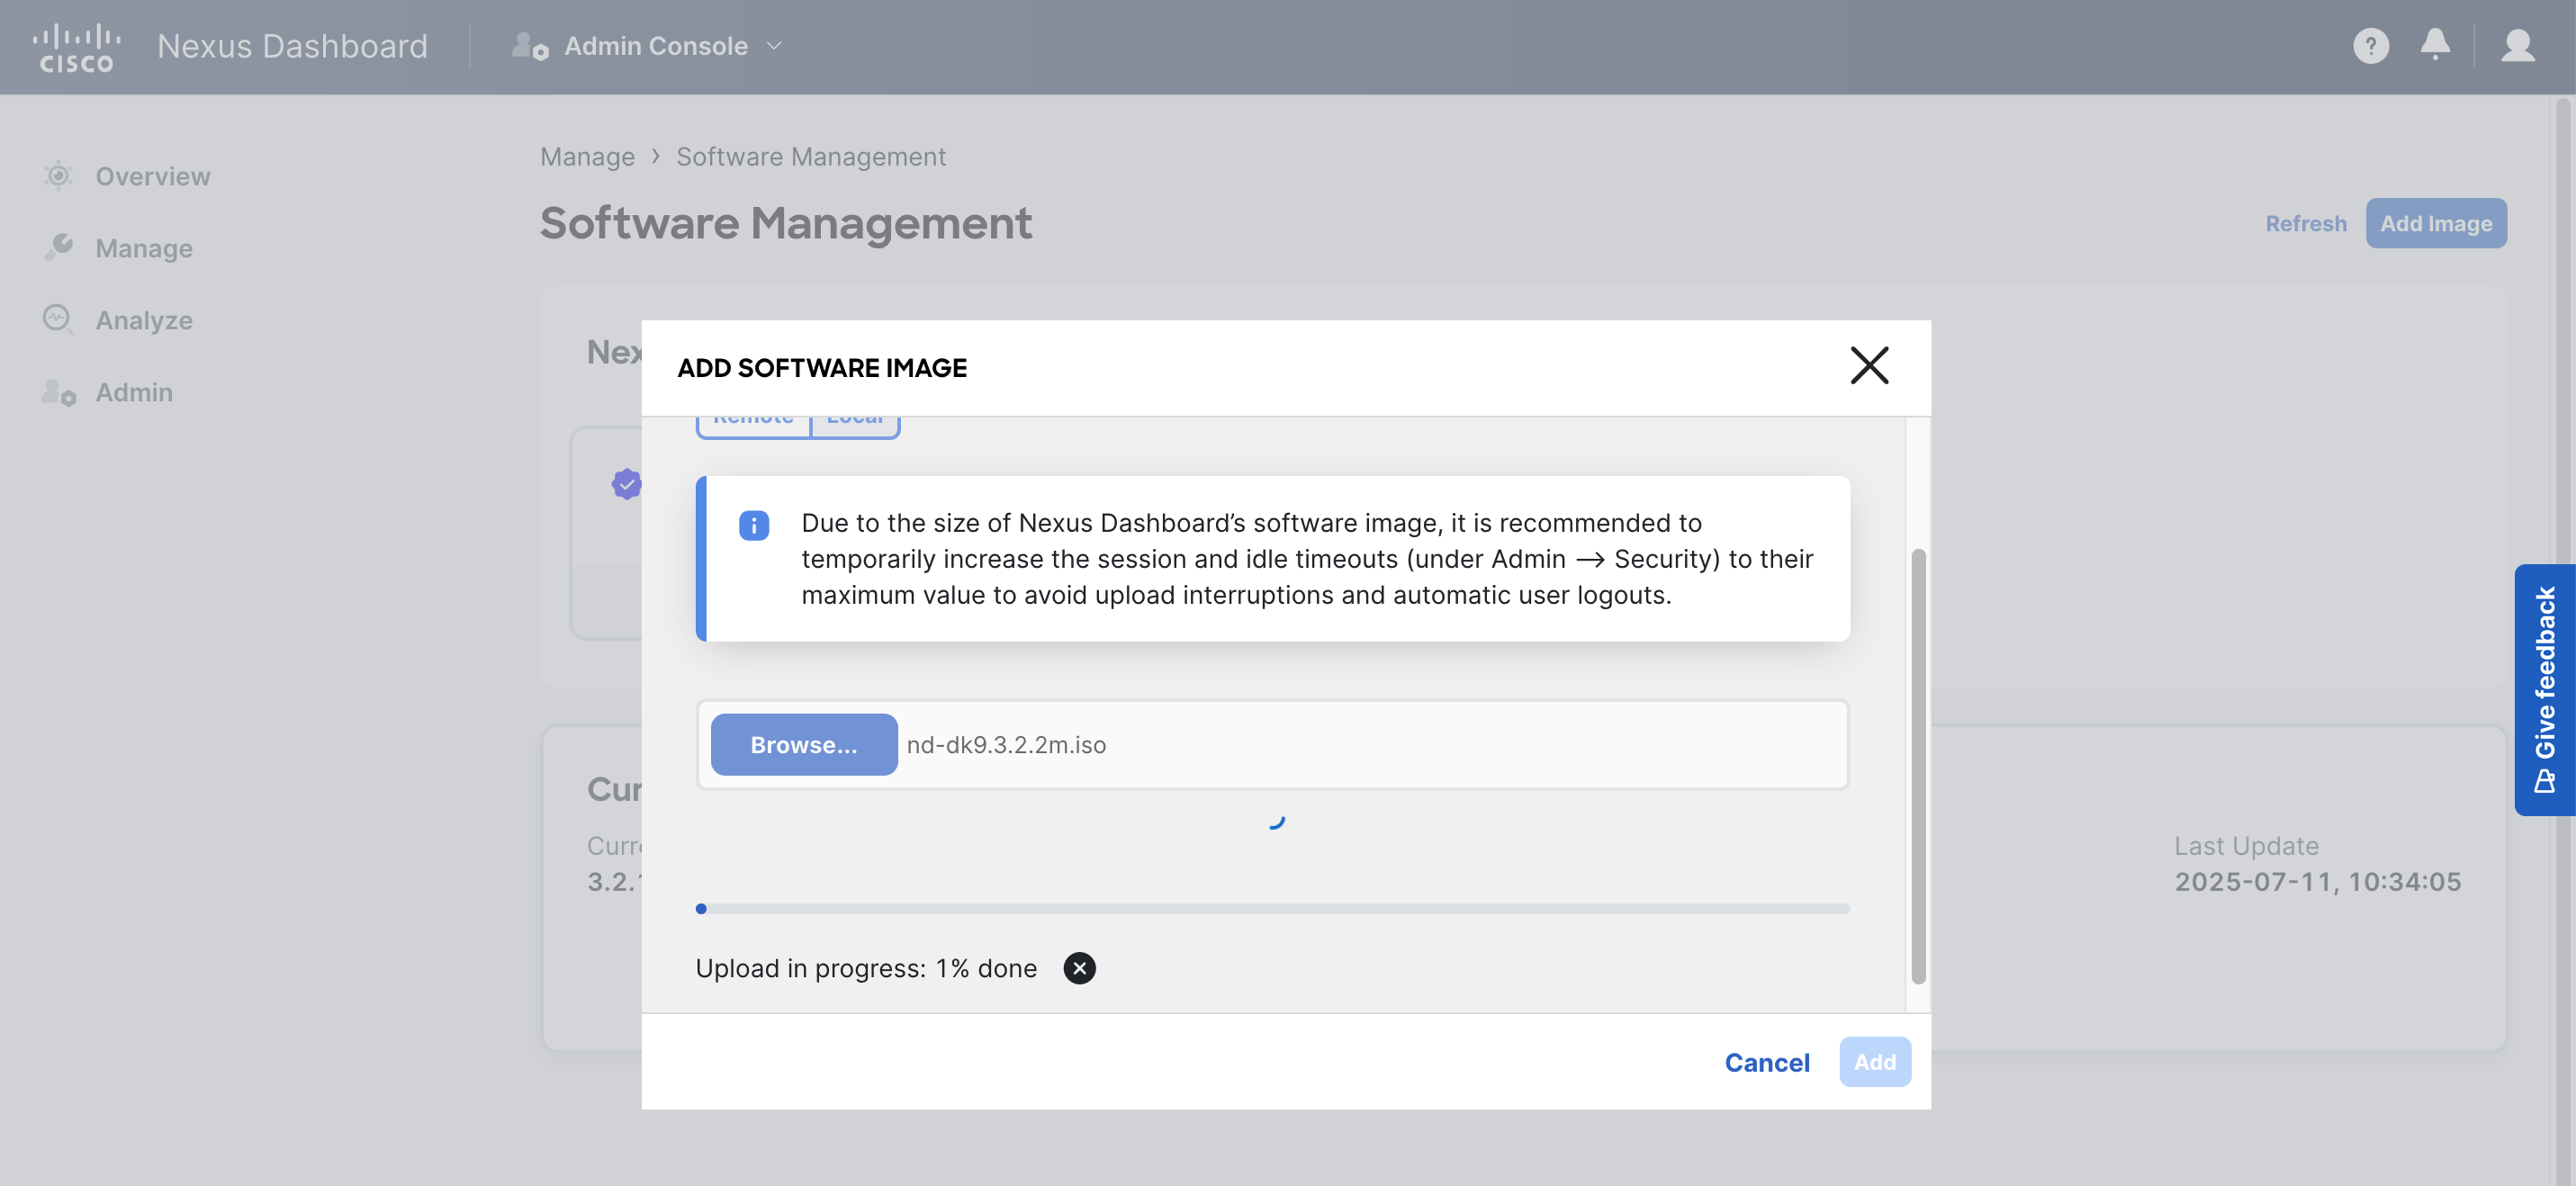
Due to the large size of Nexus Dashboard images, this upload can take some time.
Installing the Upgrade
Section titled “Installing the Upgrade”Close the upload popup to return to the main Software Management screen.
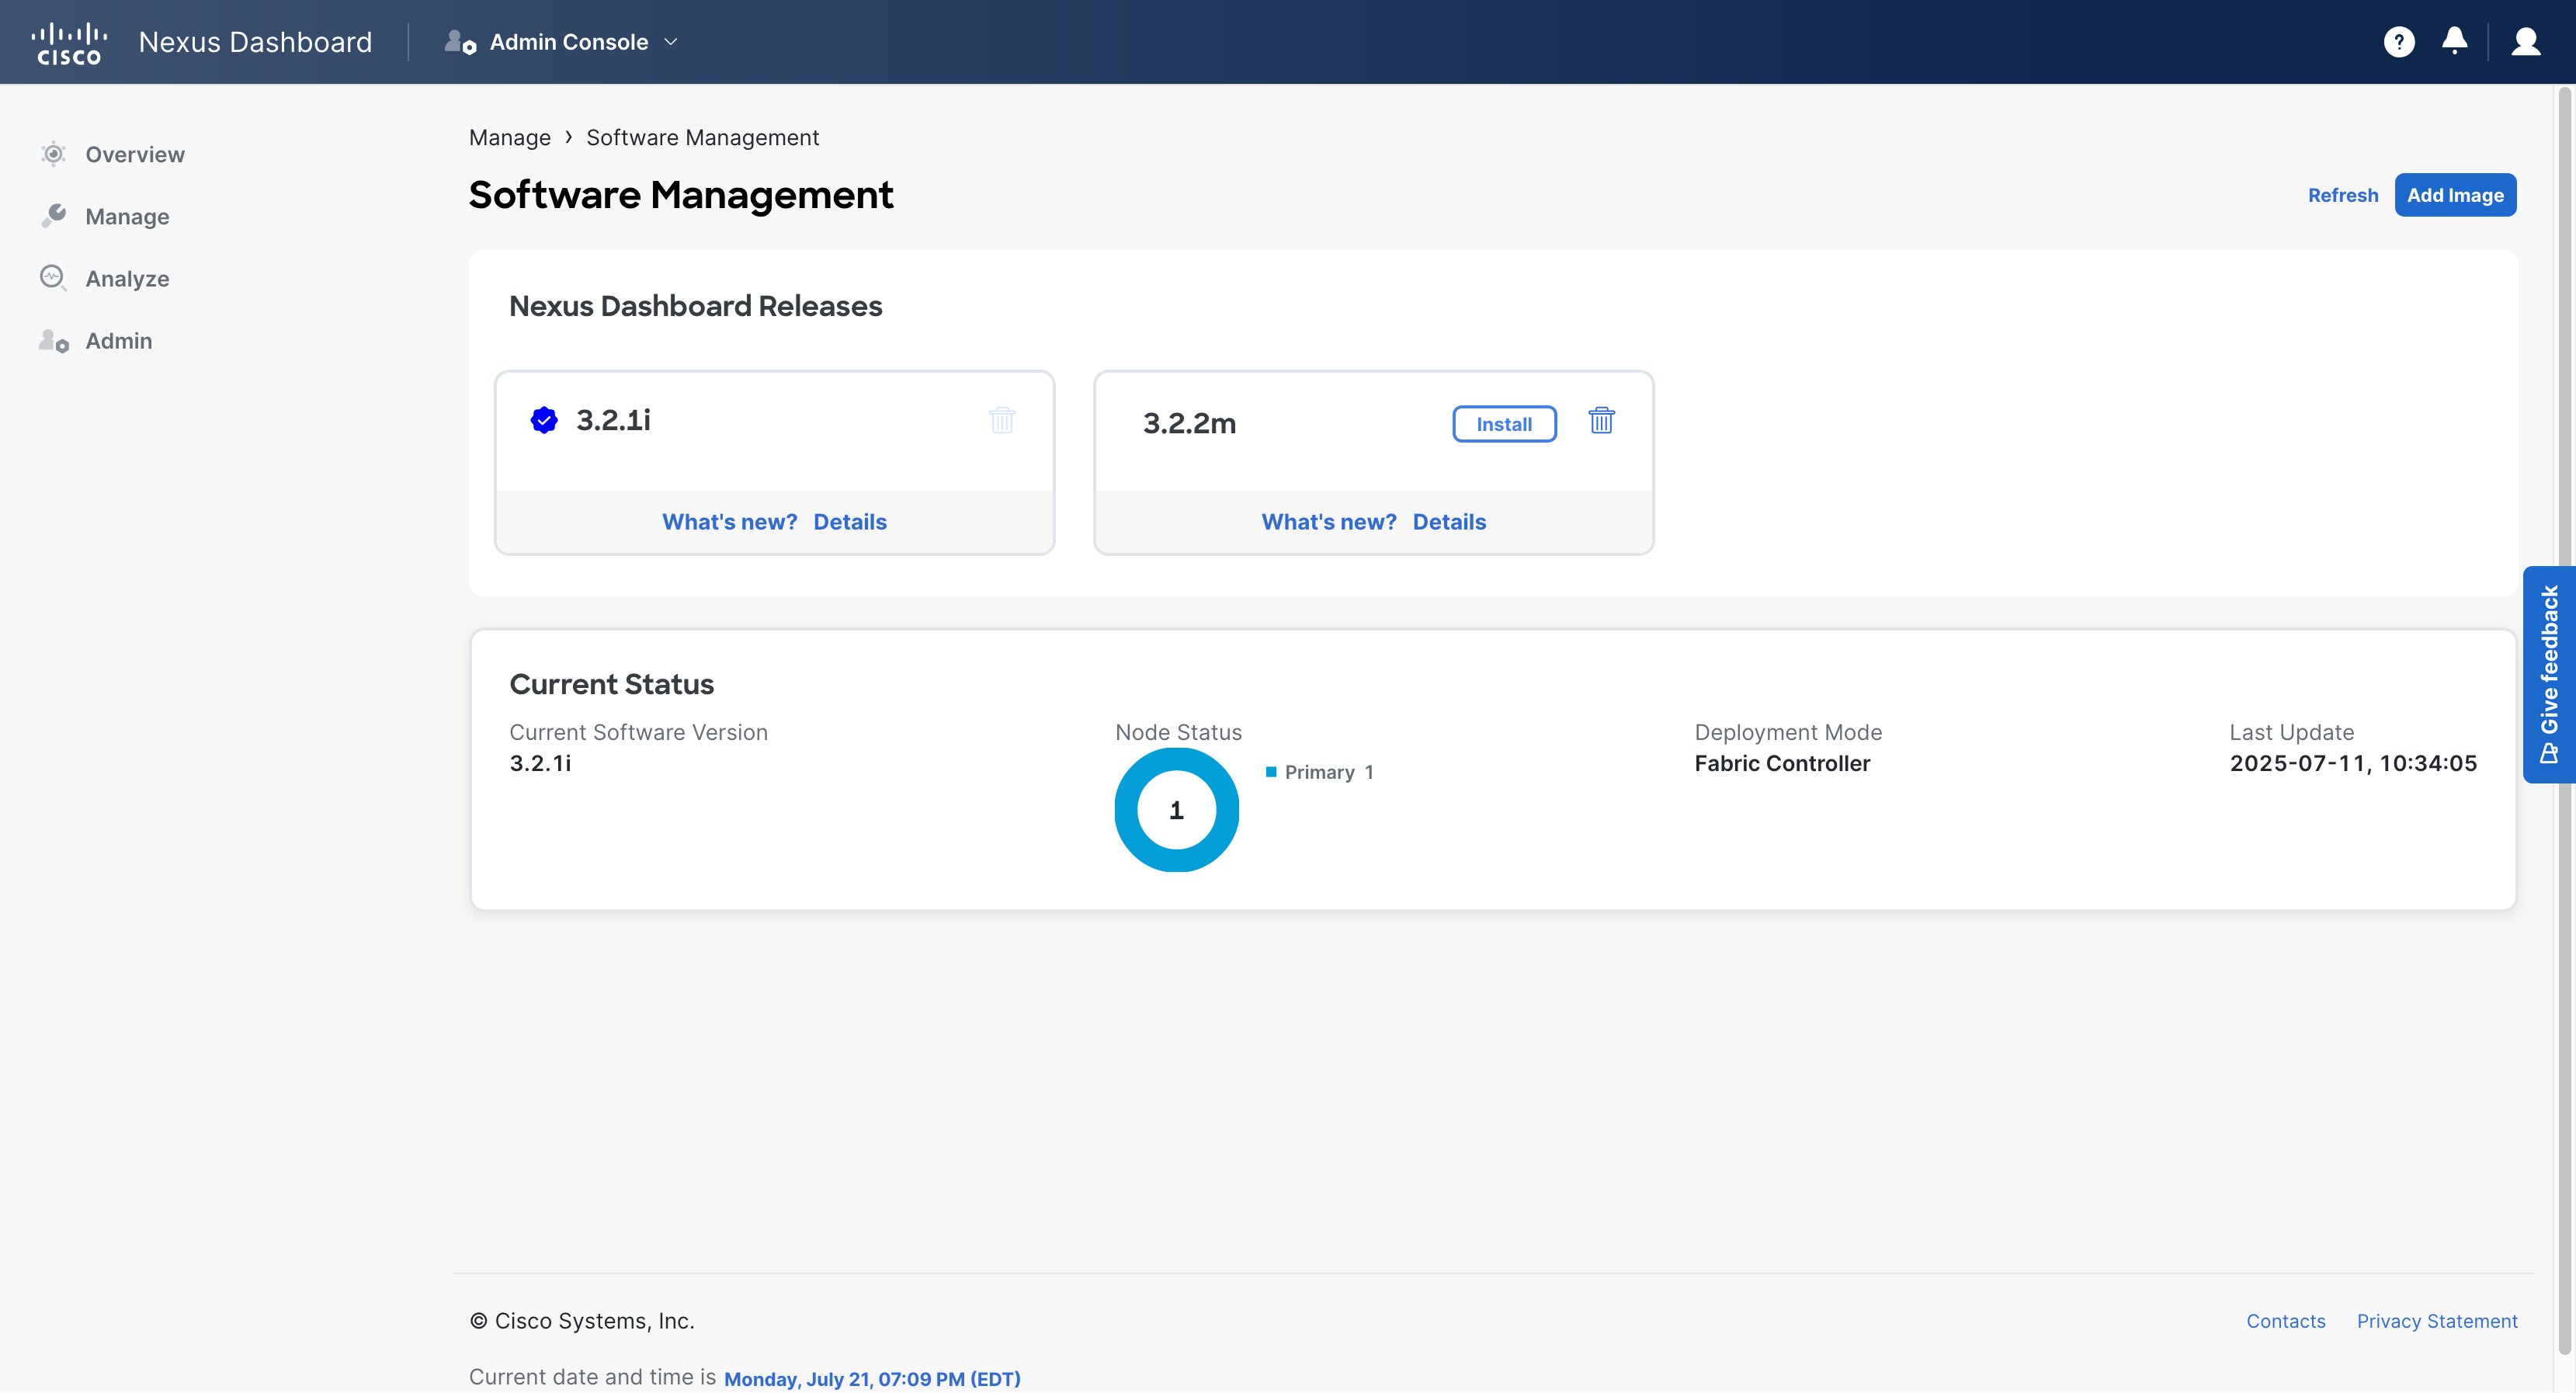
Once fully uploaded, select the “Install” button next to the target image.
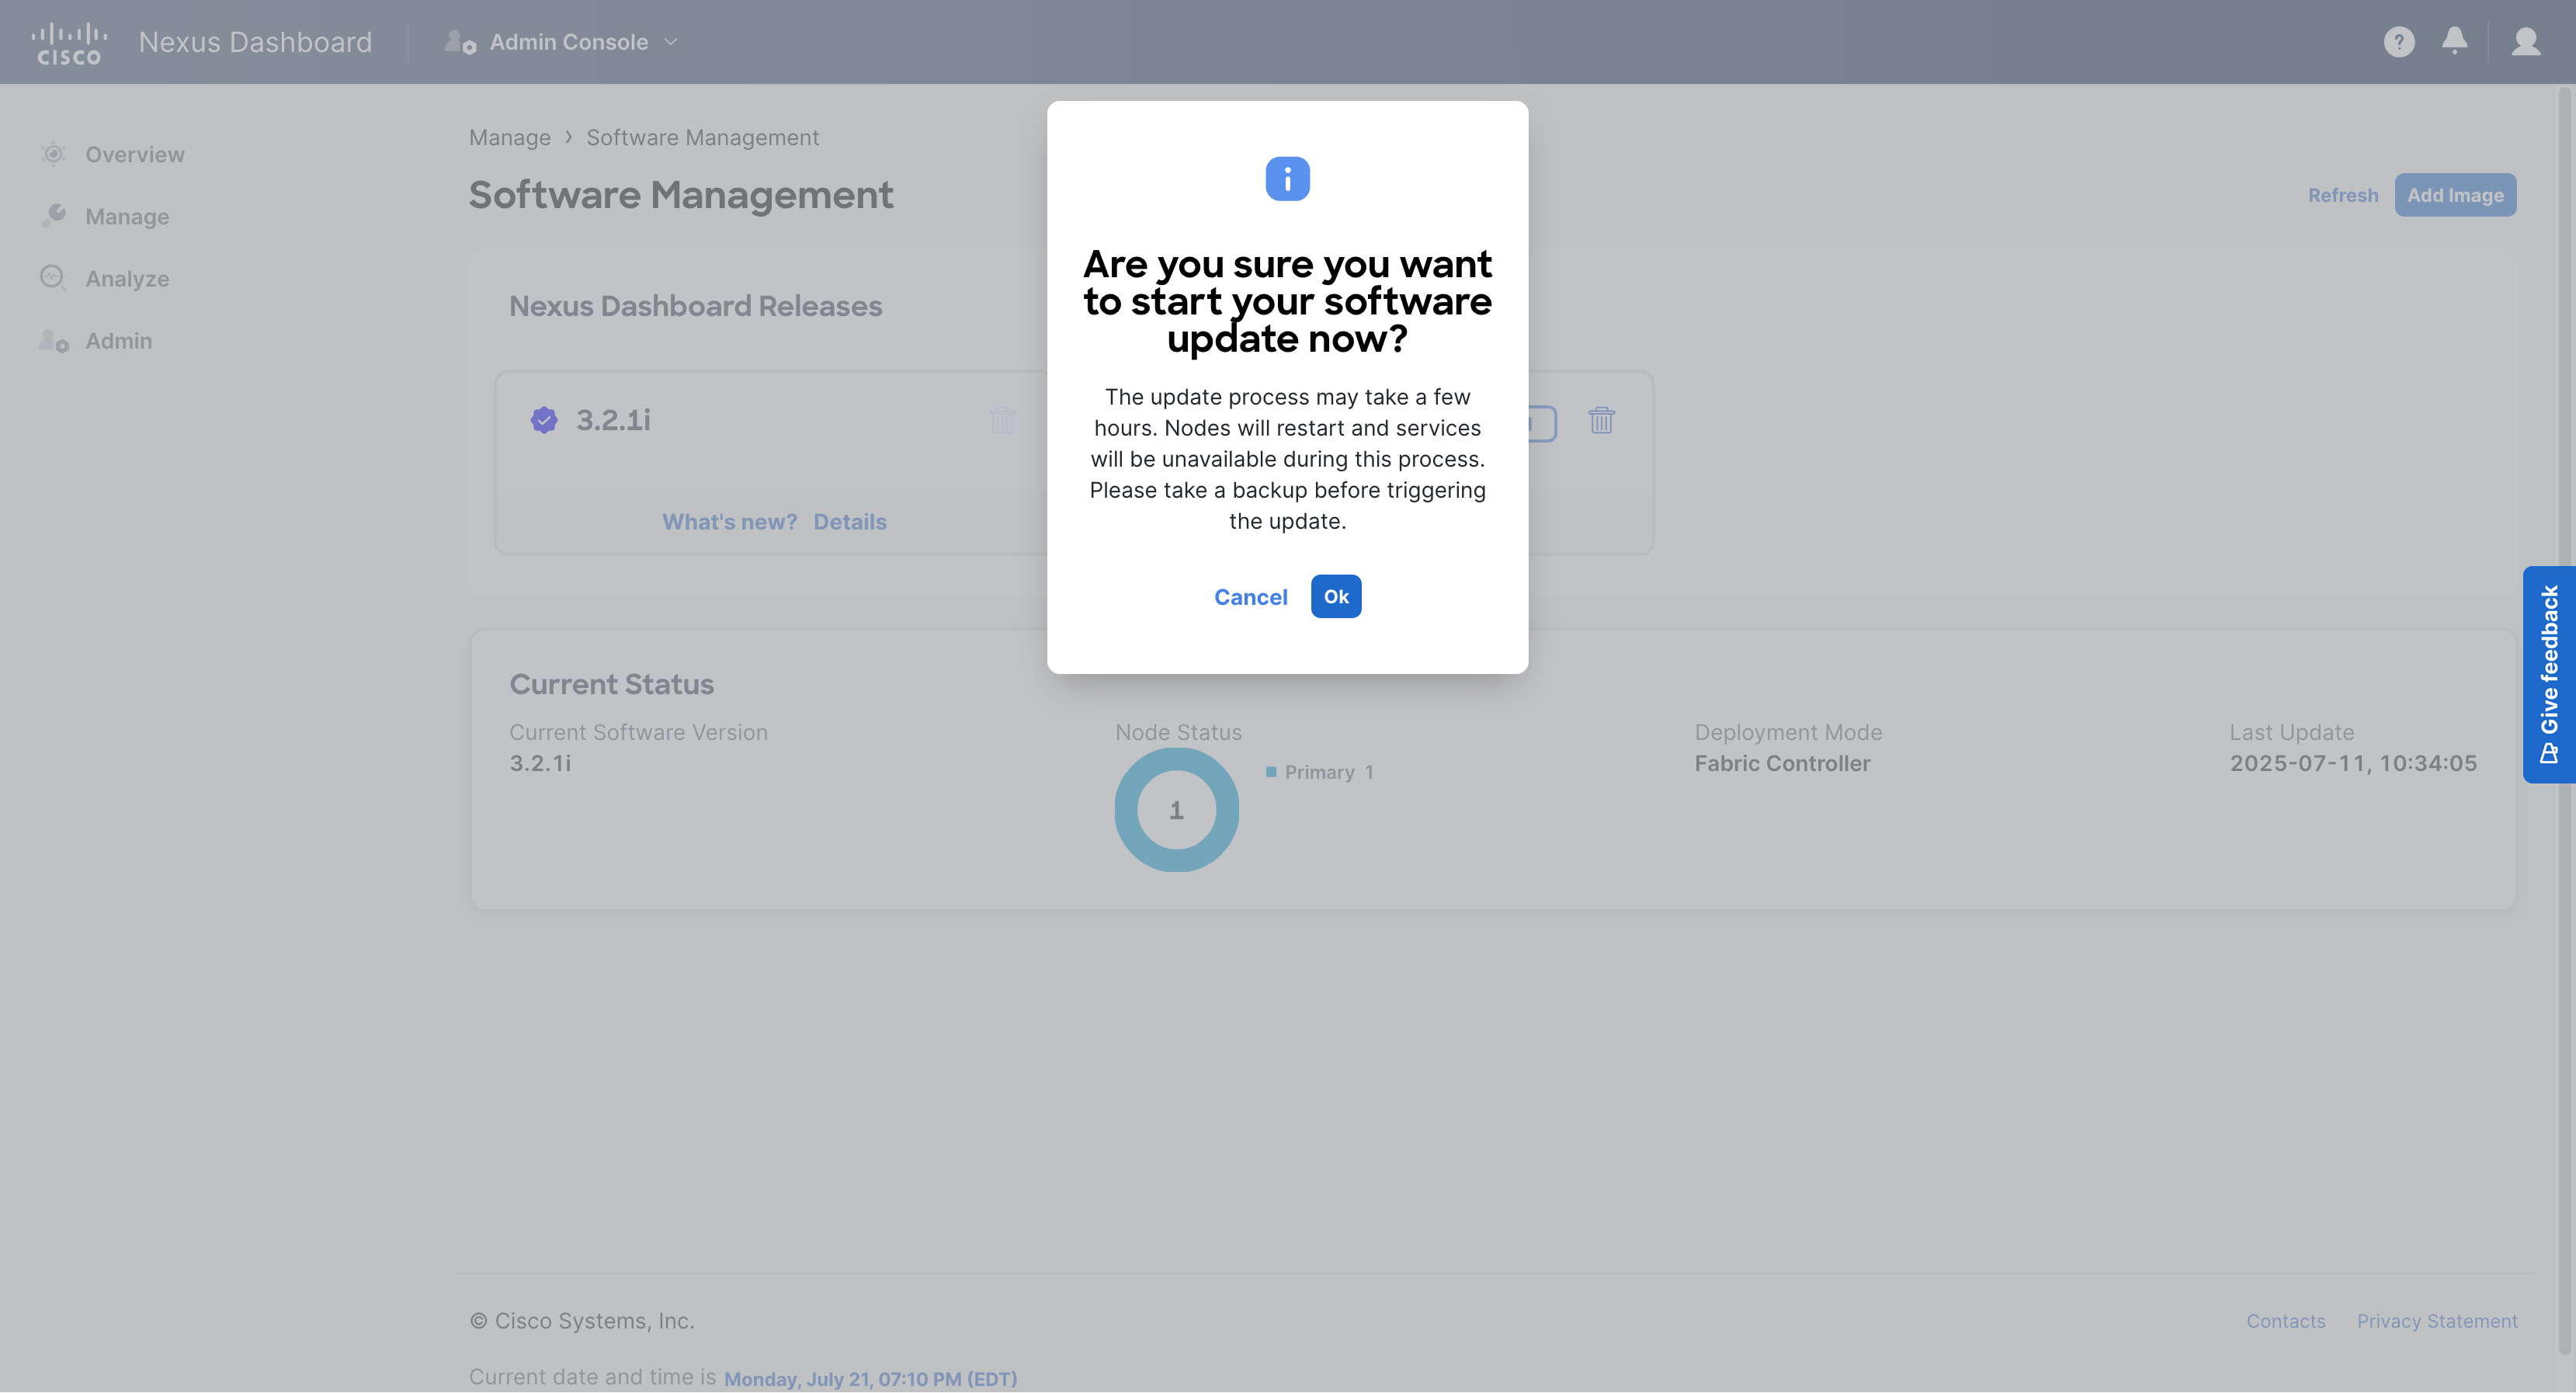
When the popup asks to confirm, select the “OK” button to proceed.
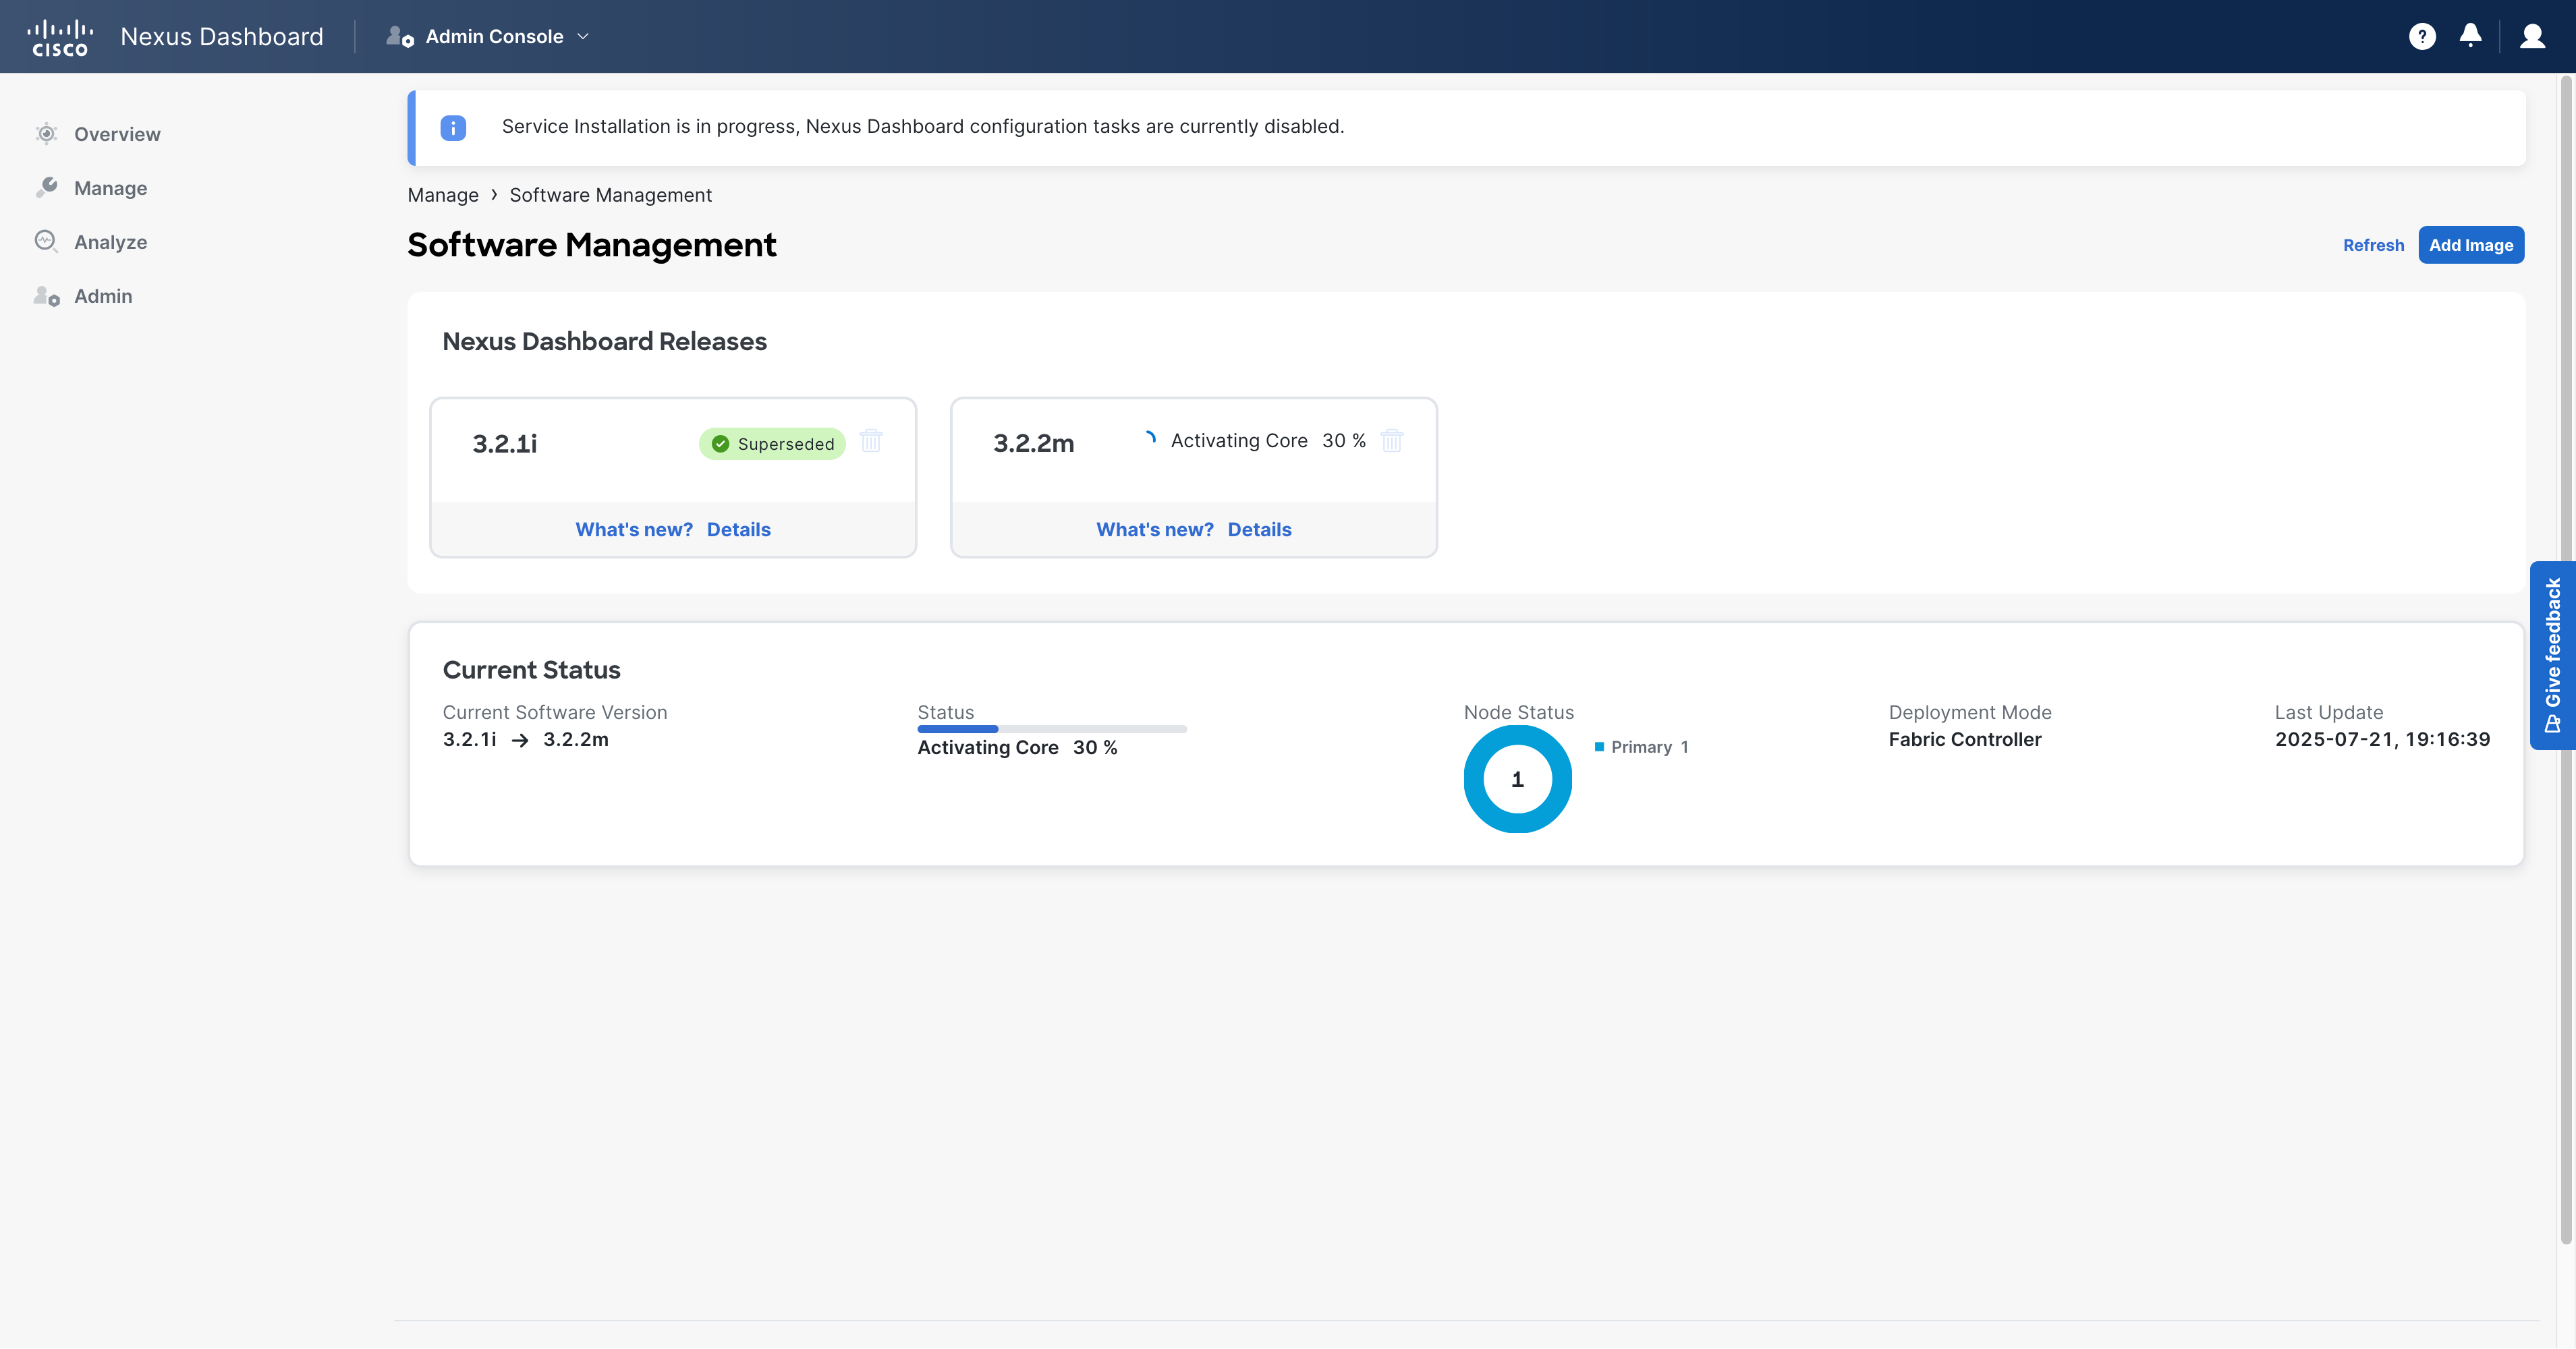
Now the upgrade has started!
You may be disconnected multiple times over the course of the update.
Upgrades can take up to multiple hours.
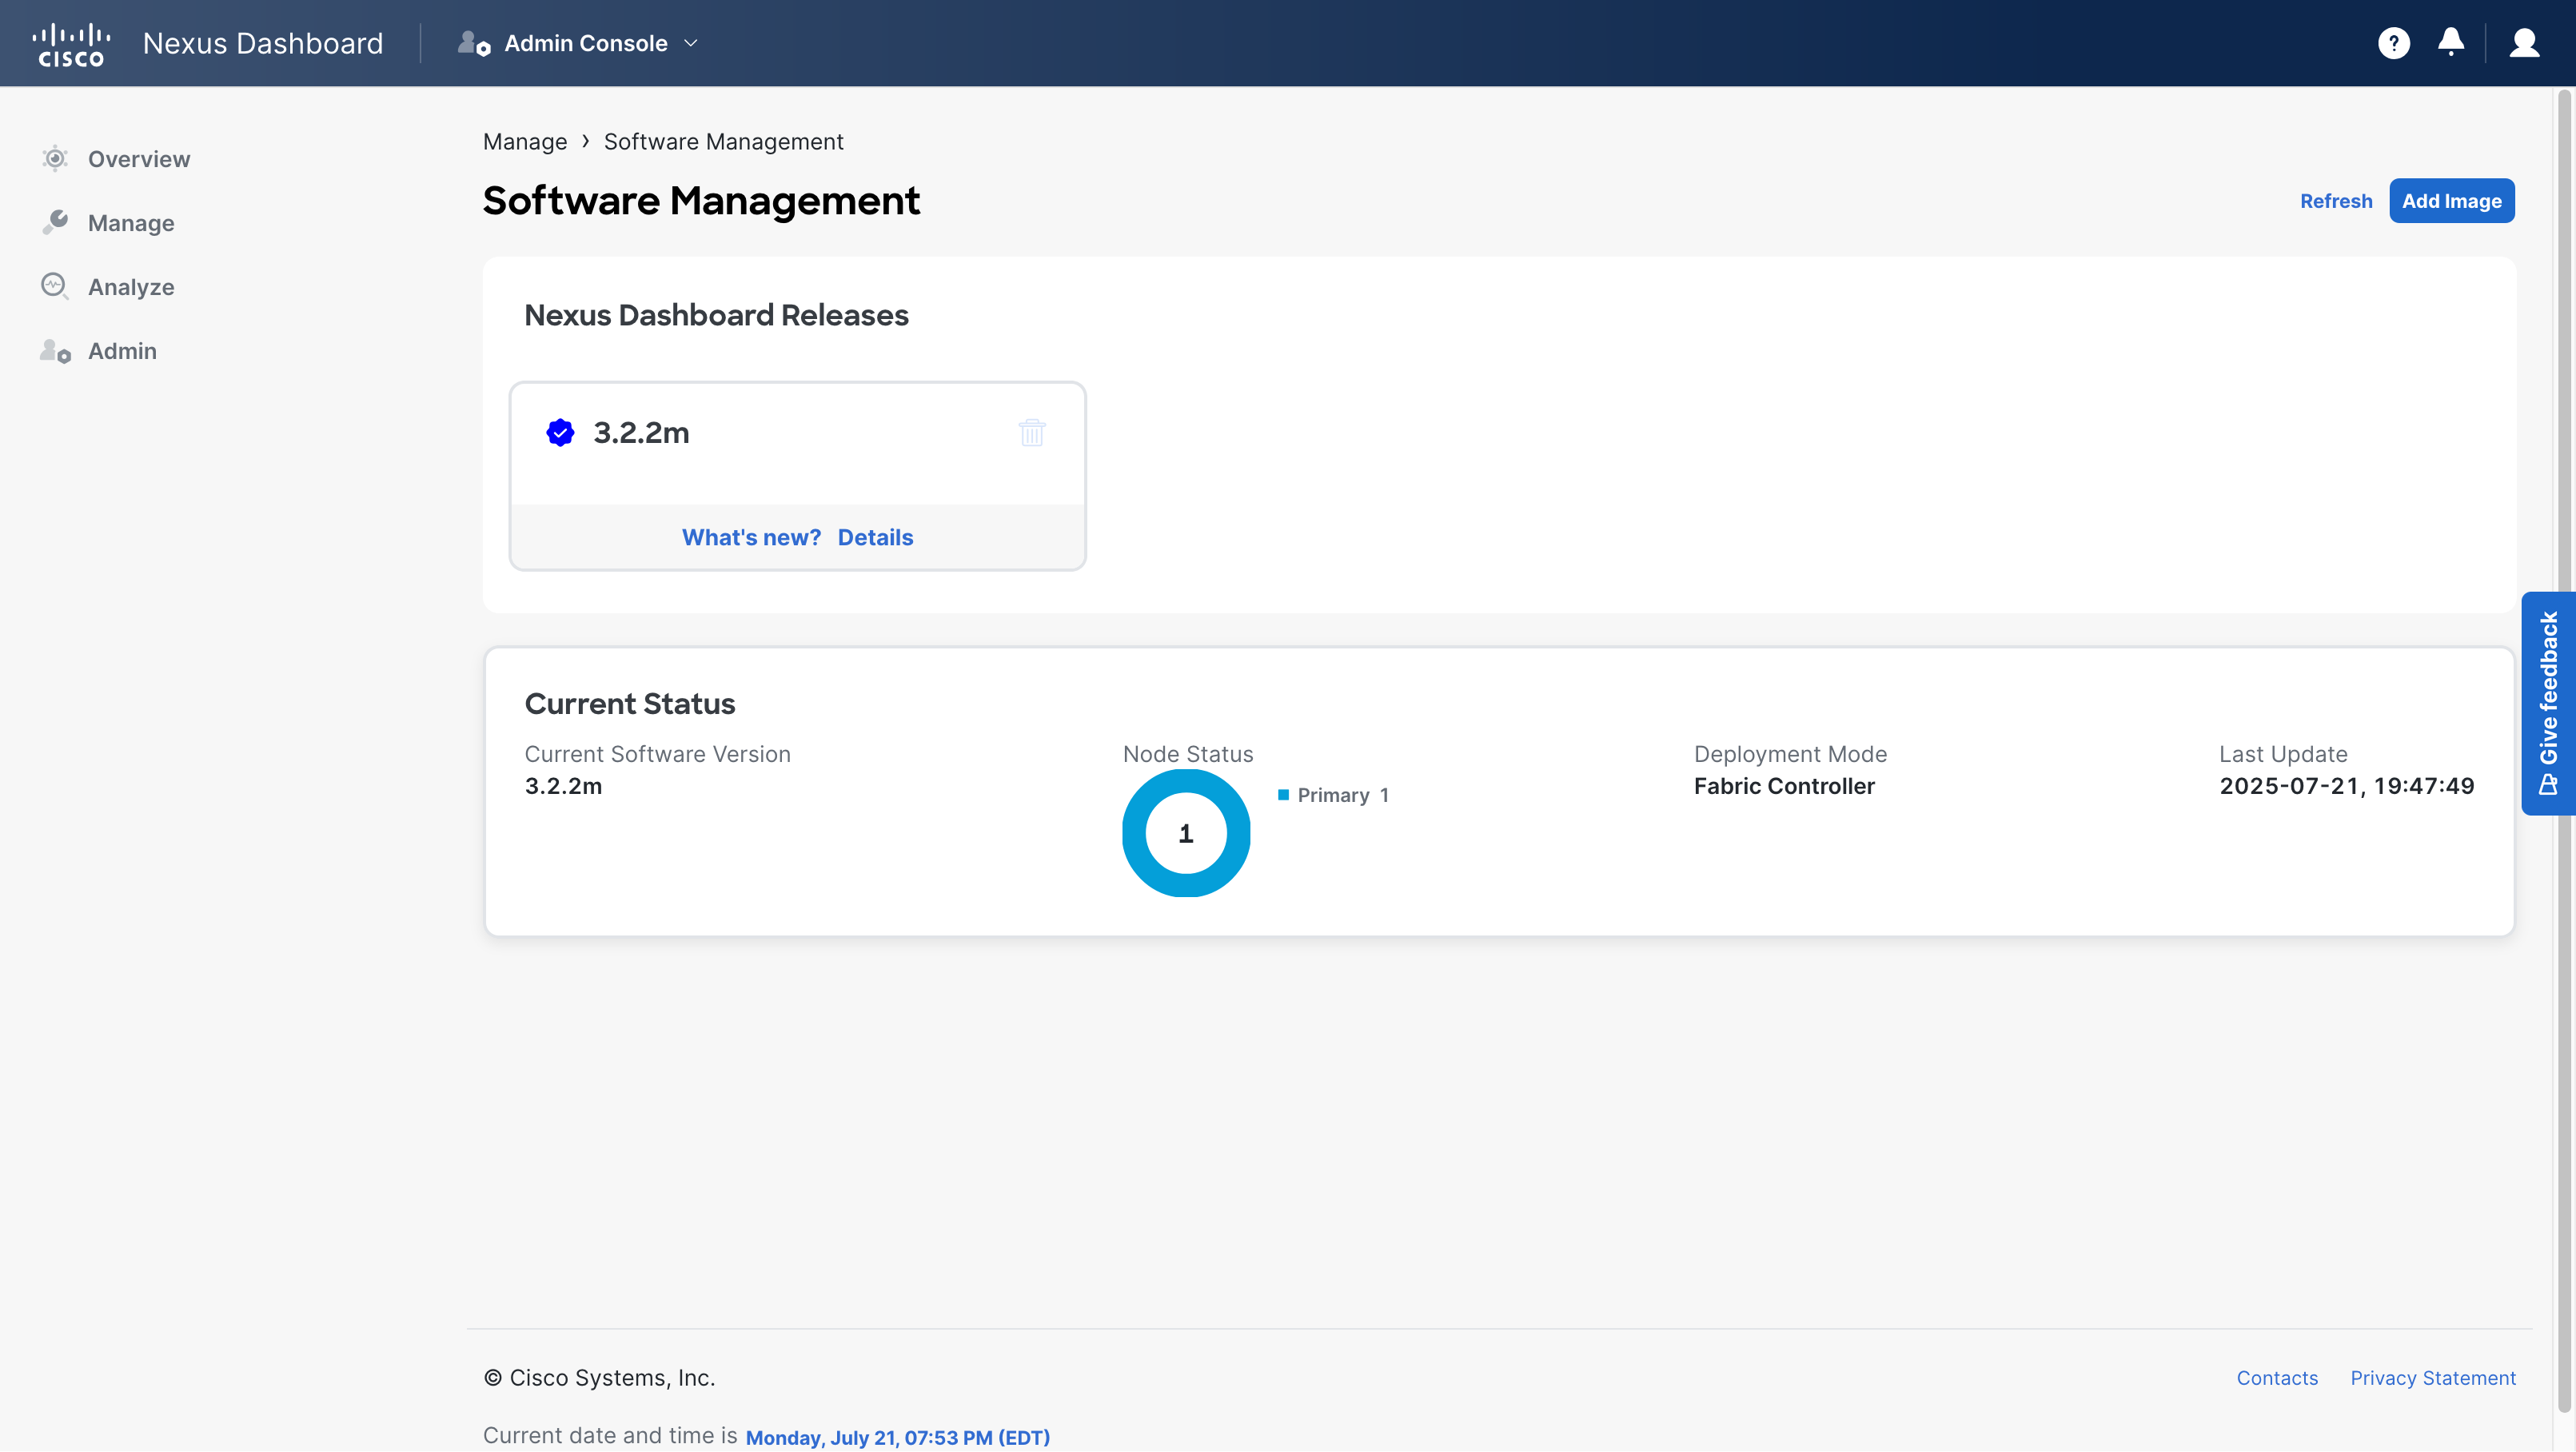
Once complete, you can see that the version has upgraded!
This concludes the MOP.